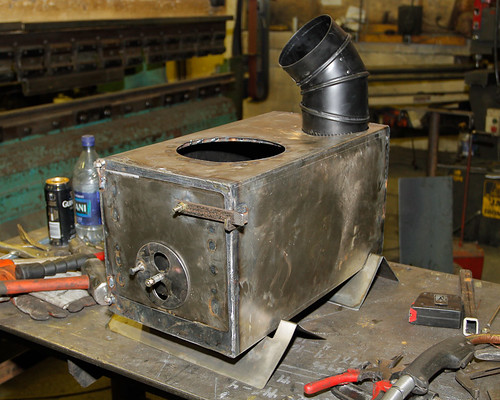
The stove itself is constructed of 22 gauge steel, is 20 inches long, and 11 inches tall by 11 inches wide. It has hole to fit 5" steel stove pipe and a hole to accommodate a pot. There is a false bottom in two pieces so that they can be flipped over inside the stove for transport. The door has a brace on the inside to keep it straight and an adjustable air intake. Four lengths of 5" stove pipe fit inside, along with the cover for the pot opening, though it's a tad tight of a fit. A damper fits into the stove pipe.

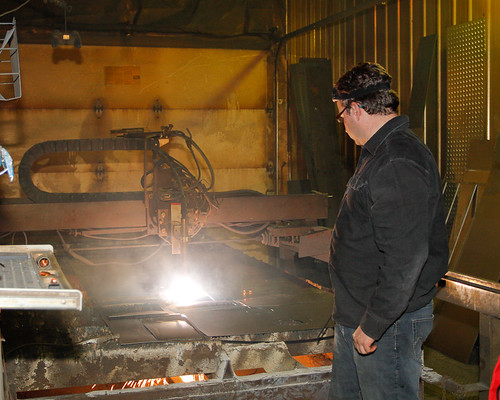
Putting the finishing touches in the design before sending the file to the plasma cutter. This photo was taken at about 9 pm.
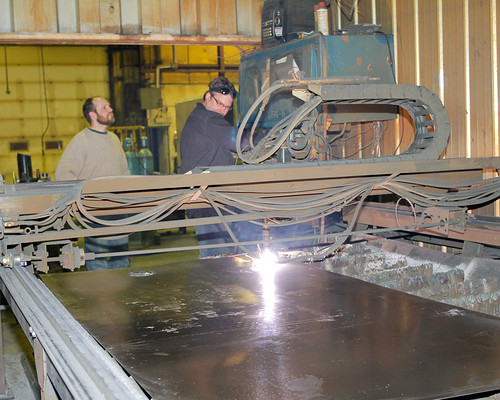
CNC controlled plasma cutter. This machine is designed to cut steel up to 1" thick and it thinks 22 gauge steel is not worth it's effort. The steel is too thin for it to recognise so we had to trick it into starting. Rod would do that by sticking a metal ruler in under the plasma cutter when it lowered itself onto the steel, then yank the ruler away just half a second before it started to cut.
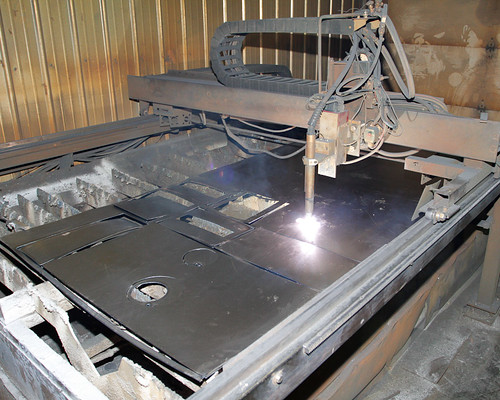
Parts being cut out by the plasma cutter.

Jay performs while Rod works.
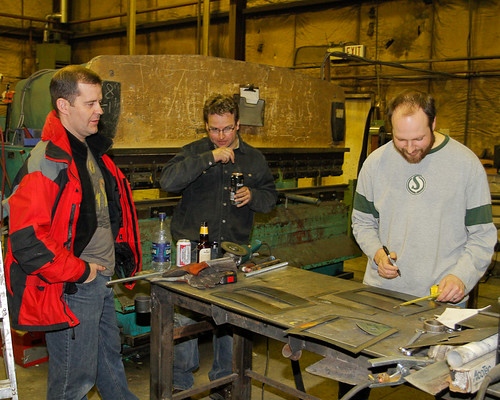
After the plasma cutter had completed it's task, we measure and mark out prior to using the bending brake shown behind Rod. Jay contributes as best he can.
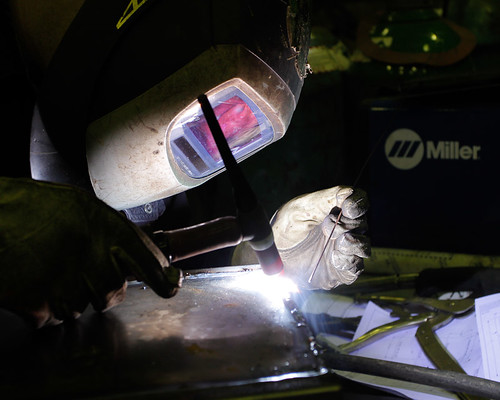
Rod tig welds a joint.
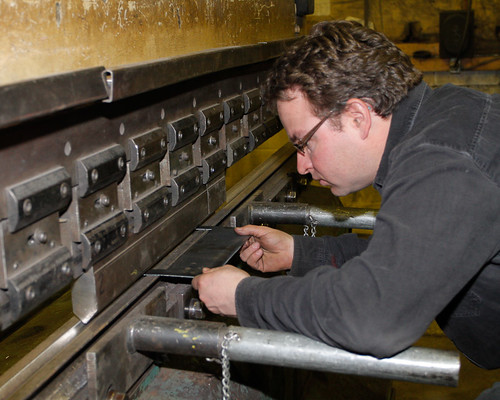
Carefully aligning one of the pieces for the legs in the bending brake.
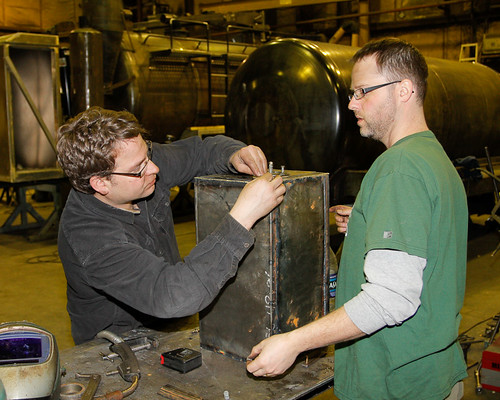
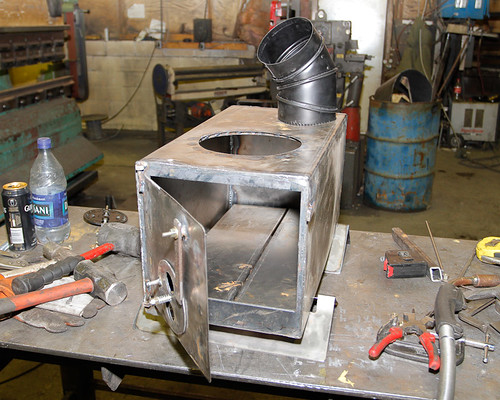
Putting it together. See the massive steel tanks in the background? That's the sort of thing Rod normally builds!


Test fit. We noted that the legs splay out due to the weight of the stove quite a bit so later added bits of angle iron to stiffen the top of the leg pieces.
Inside view showing the false bottom.

Stove ready to go with the pot set into the hole. This photo was taken at about 3am.


The stove proved to work rather well. Now all we need to do is find a time when NSE can head out on a trip and actually use it as a group!

very nice!
ReplyDeleteHey Corey, maybe you'll have to come North with me sometime.
ReplyDeleteCheers,
Bryan
I am really enjoying reading your well written articles. It looks like you spend a lot of effort and time on your blog. I have bookmarked it and I am looking forward to reading new articles. Keep up the good work. GOLETA APPLIANCE REPAIR
ReplyDelete